 Download and Install CapCut PC
 Download and Install CapCut PC
♥ Visit the official CapCut website.
♥ Download the PC version that is compatible with your operating system.
♥ Install the software by following the on-screen instructions.
Import Your Media
Once CapCut is installed
♥ Open the app and start a new project.
♥ Drag and drop your media files into the media library.
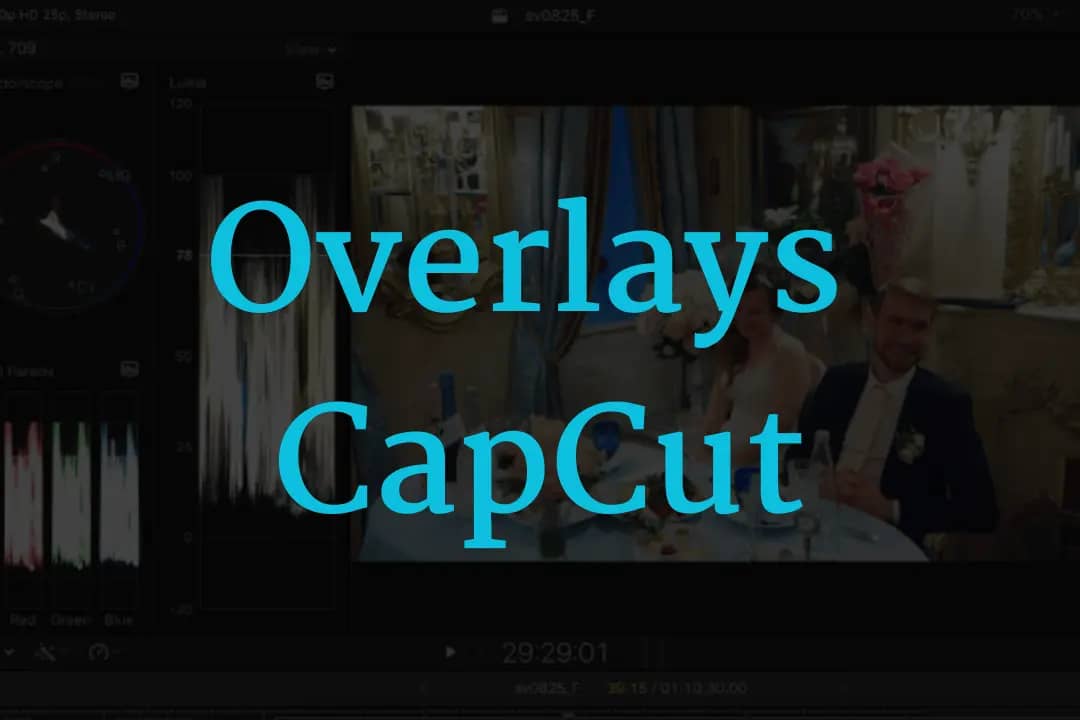
Here’s a detailed walkthrough of adding overlays to your project
Step 1: Open Your Project
♥ Launch CapCut PC and create a new project.
♥ Import the video you want to edit by dragging it into the timeline.
Step 2: Add the Overlay Element
CapCut allows you to add overlays like text, images, videos, or stickers. Here’s how
Adding Image Overlays
Go to the Media tab
♥ Drag and drop the image you want to overlay onto the timeline above your main video track.
♥ Resize and position the image on the preview screen using the drag handles.
Adding Video Overlays
♥ Import the overlay video into the media library.
♥ Drag it onto the timeline above the main video.
♥ Adjust its size and position to fit your needs.
Adding Text Overlays
♥ Click on the Text tab in the toolbar.
♥ Choose a text template or create custom text
♥ Drag the text element onto the timeline above your main video.
♥ Use the toolbar to adjust font style, size, color, and animation.
Step 3: Customize the Overlay
After adding an overlay, customize it for a polished look
Position and Size Adjustments
♥ Click on the overlay element in the timeline.
♥ Drag it to reposition it in the preview screen.
♥ Use the corner handles to resize it.
Add Animation to Overlays
♥ Select the overlay element.
♥ Click on the Animation option in the toolbar.
♥ Choose an animation style like fade-in, slide, or zoom.
Adjust Opacity and Blending
♥ Use the Opacity slider to make overlays more transparent.
♥ Experiment with blending modes to create unique effects.


Maintain Visual Balance
Avoid cluttering your video with too many overlays. A clean, organized design looks more professional.
Use High-Quality Media
Ensure your overlay images and videos are high resolution to maintain visual clarity.
Match the Theme
Choose overlay elements that complement your video’s theme or purpose.
Experiment with Effects
CapCut offers various effects and filters. Combine these with overlays for added creativity
Overlay Not Visible
♥ Ensure the overlay track is above the main video track.
♥ Check the opacity and blending settings.
Overlay Misaligned
♥ Use the preview screen’s grid lines to align overlays accurately.
Laggy Performance
♥ Reduce the project resolution while editing
♥ Ensure your PC meets CapCut’s minimum requirements.
Exporting Your Final Video
Once you’ve added and customized your overlays
♥ Click on the Export button
♥ Choose the desired resolution and format
♥ Save the video to your preferred location